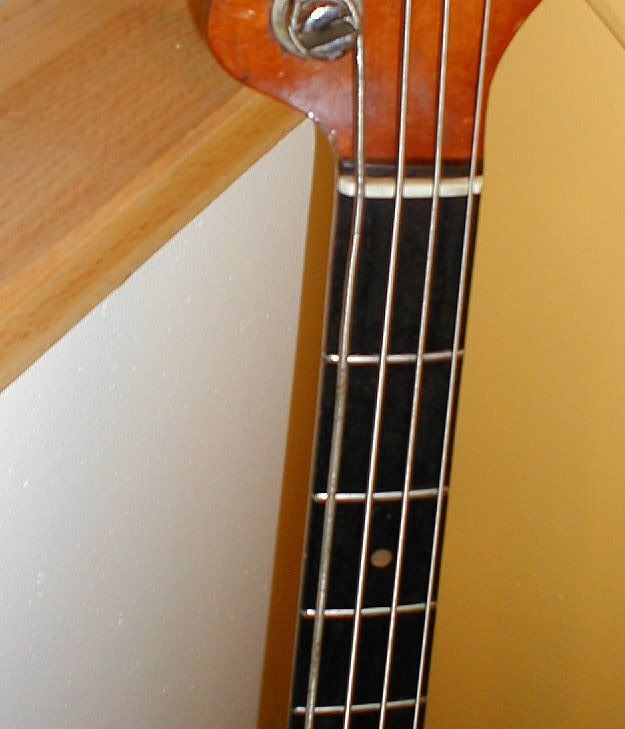
I did this repair as part of a complex deal to get a slab-board Fender Precision P-bass/Jazz bass neck with a C.A.R. headstock. Anyone have a spare C.A.R. P-bass body hanging around ? 🙂
So anyway – the truss rod on this bass apparently broken at the anchor – meaning that I had to get TO the anchor to put in a new anchor and thread in a new truss-rod. In most cases with Fenders, the truss rod simply becomes unthreaded from the anchor – Fender never thought of a little spot weld to old it all together – and I have – once – succesfully re-threaded a truss rod into the anchor with loctite on the threads (I have a weird little tool I made to let me hold the truss rod and thread it in from the bottom of the neck). But in the case of a broken rod or anchor – or simply to be sure the rod is securely anchored – its best to have direct access to the truss rod anchor.
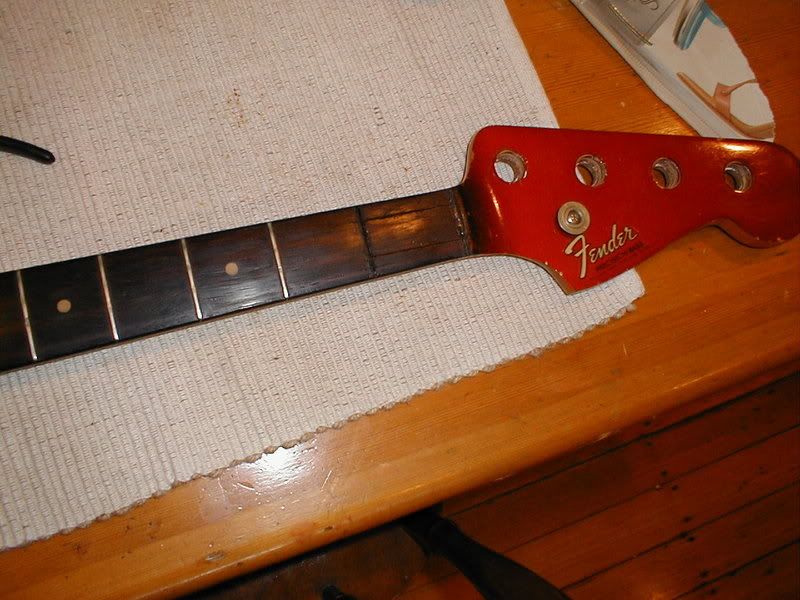
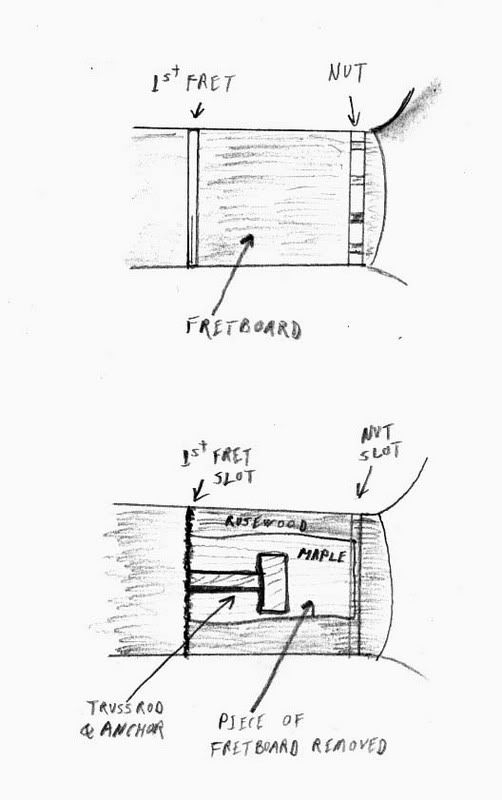
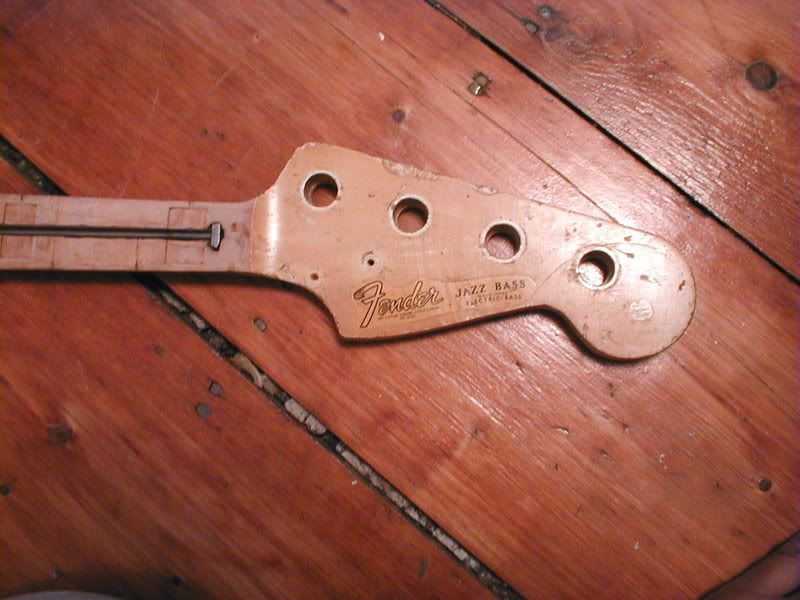
The diagram below is what I sent the owner of the neck – proposing my repair. The other picture is a 66 Jazz neck project – someone cleverly peeled off the fretboard !! Someday I’ll fix it – its an original Olympic White headstock.
So I received the neck – which had been heavily played over the years and was missing the headstock decal and one clay dot. I decided to replace the clay dot with a small amount of cellulose filler that matched the color – which I fine sanded smooth with the surrounding fretboard, and then soaked with “thin” HotStuff glue before sanding it again. After a little scratch polish and lemon oil on the surrounding fretboard, the dot looked identical to the others on the neck !
But onto the truss-rod repair. I first removed the string nut and 1st fret. Then I made two longitudinal cuts from the fret slot to the nut slot – repeating until I had hit the underlying maple and trying to follow the grain lines in the rosewood. I used a Dremel tool with a thin cutting wheel to cut down vertically at the first fret slot and the nut slot. Then using a chisel that was just a little narrower than the piece of the fretboard I was removing, I carefully got under the edge of the board at the nut slot – and peeled up the rectangular piece of the fretboard.
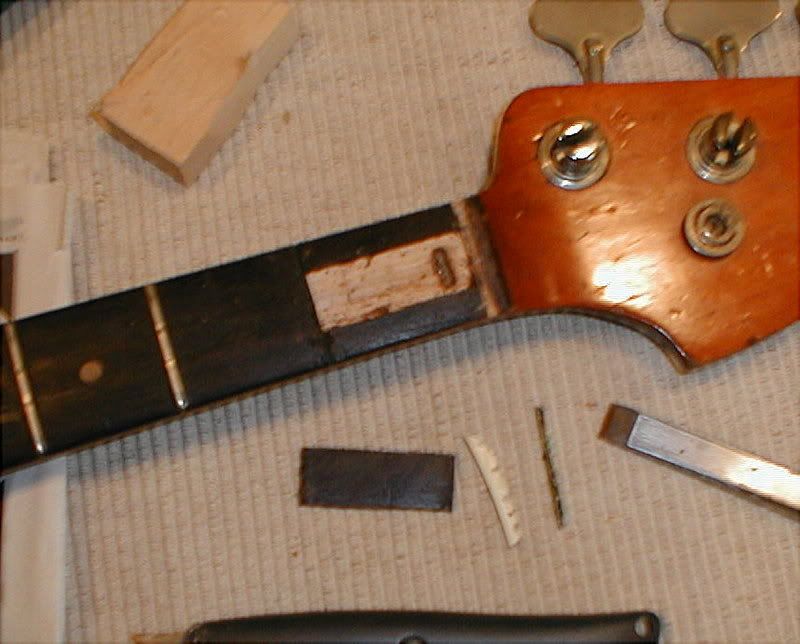
I then removed some of the maple to allow access to the anchor and truss rod slot. I placed a new Stew-mac anchor into the neck, using small pieces of maple and glue to tightly lodge it – and then threaded the new truss rod in from the base of the neck. When the threaded ends were near the anchor, I placed loctite on the threads and then used my homemade tool (I need to take a picture of it!) to twist the truss rod from the base of the neck and thread it tightly into the anchor.
After allowing the loctite to set for several hours – and testing the rods secureness – I fitted a narrow piece of maple over the slot for the rod so that it wouldnt rattle in the neck. One step I did not do – which has been recommended to me by Jim Mouradian since then – was to wrap the truss rod in either electrical tape or very thing wire-shrink wrap so there wouldn’t be any chance of the trussrod rattling in the neck. The challenge can be in threading the truss rod into the neck though once its wrapped, since its a very tight fit. I will say that I tried this neck out on a bass after the repair and I didnt notice any rattle – not too surprising since it was under tension too.
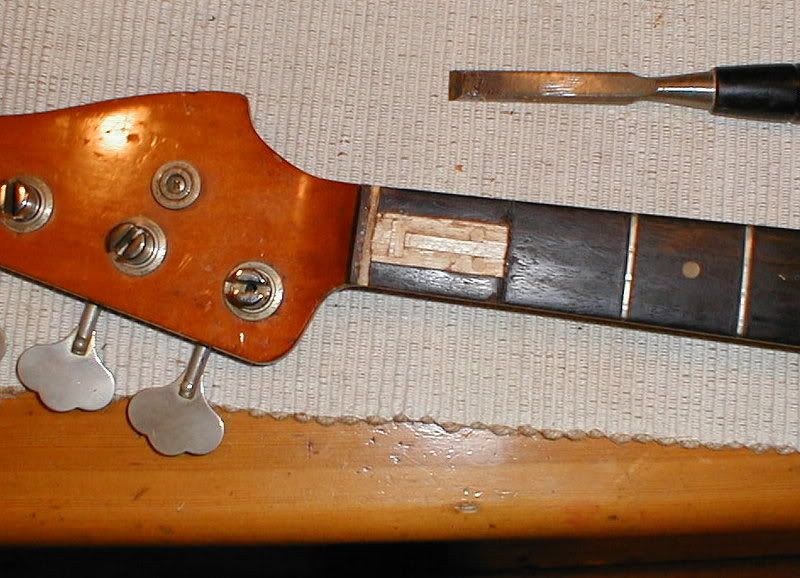
Now came the task of putting all the pieces back in place – the replacement pieces of maple were filed down to match the contour of the piece of fretboard that was removed – and then the piece of fretboard was glued back in place.
Once the glue was dry, a combination of rosewood dust and crazy glue was used to fill the slots left by cutting the fretboard. A razor blade was used to sift some rosewood dust into the slots – piled up above the surface of the fretboard – and then crazy glue was run along the slot. I sprayed an accelerator on the glue, so that the dust and glue combination instantly hardened, as you see in the picture below.
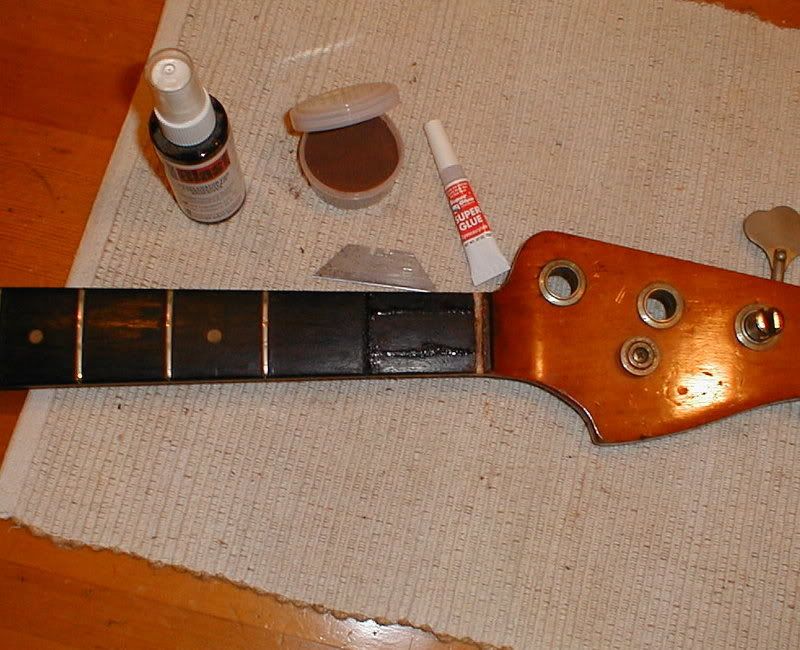
Once everything was hardened – the two ridges were carefully filed down flush with the board – then the entire area was gently sanded smooth – scratch polish and lemon oil applied – and the 1st fret and nut were reinstalled. Once the neck was strung up, the repair was not obvious at all – you could see the lines if you were looking for them, but the strings prevented them from being prominent.
Most important – the trussrod now functioned perfectly – I swapped out the neck from my 66 Jazz bass to try it out – and the neck played flat and evenly – no relief and no twist. Oh – and heres the CAR neck that I got in the deal – and it needs the same treatment PLUS a heel repair for some brutal chiseling that was done in some misguided attempt to “fix” a truss rod that broke at the adjuster.
